
Spicy & Sweet: The Ultimate Recipe for Thai Chili Paste (Nam Prik Pao)
Ah, the sweet, smoky taste of Thai Chili Paste, also known as Nam Prik Pao! I’ll never forget the first time I tasted it—my friend Nara’s mom whipped up a batch of this fragrant paste for a weekend feast. The moment I took a bite of her home-cooked creation, a wave of comforting nostalgia washed over me, reminding me of warm summer evenings spent with family, laughing and sharing stories around the dinner table. This magical blend of chilies, garlic, and tamarind instantly transformed the simplest of dishes into something extraordinary.
What I adore about this recipe—beyond those vivid memories—is that it’s truly a cut above the rest. Many store-bought options lack the depth of flavor that homemade Thai Chili Paste offers, not to mention the freshness. By crafting it yourself, you’re in full control, infusing every spoonful with love and customization.
I promise you, by the end of this post, you’ll not only know how to make your own Nam Prik Pao, but you’ll also understand the artistry behind it, and perhaps, create new memories of your own.
What Are Thai Chili Paste (Nam Prik Pao)?
Thai Chili Paste, or Nam Prik Pao, has its roots deep in Thai culinary history. Its origins can be traced back to the need for a versatile flavor enhancer that could elevate an array of dishes. The paste is a beautiful balance of sweet and spicy, with a smoky aroma that wafts through your kitchen during preparation. The signature flavor comes from a harmonious blend of mild dried chilies, fragrant garlic, caramelized shallots, and the unique tang of tamarind.
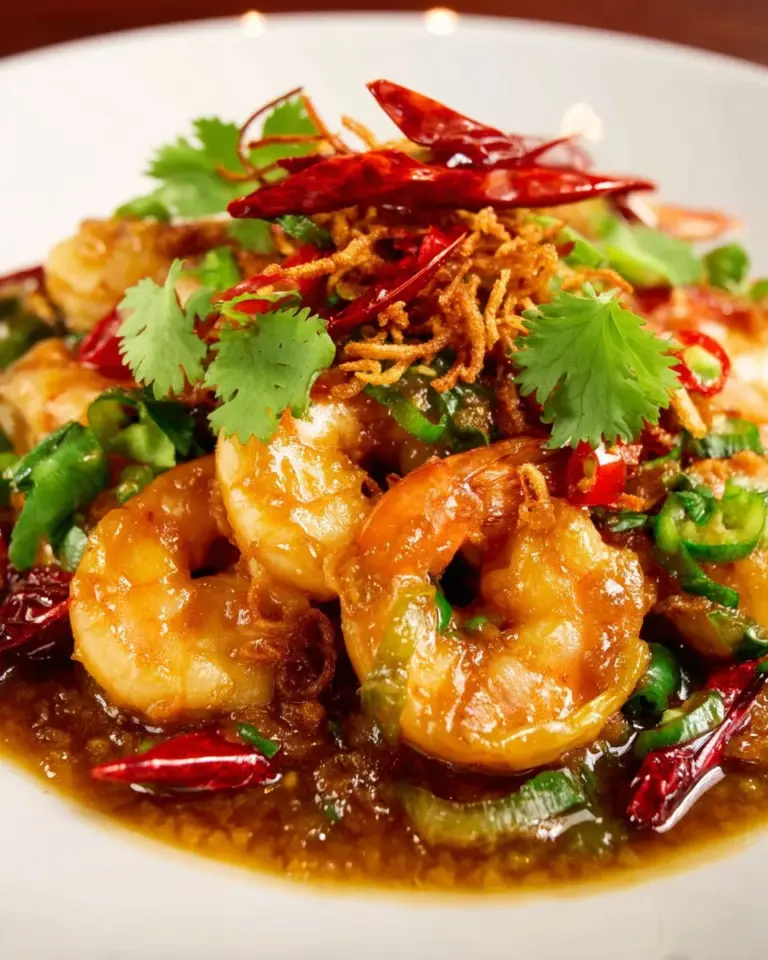
What truly sets this paste apart? It’s the perfect blend of textures—a smooth, thick base that’s both earthy and vibrant. The versatility of this paste means it can be used as a dipping sauce, marinade, or cooking ingredient in various Thai dishes, like Tom Yum Goong or stir-fry options. Making it at home not only ensures freshness but allows you to tailor the heat to your liking, whether you prefer a milder flavor or an extra kick.
Why You’ll Love This Recipe
Freshness Rules: There’s simply no comparison between homemade Thai Chili Paste and store-bought versions. The freshness of the ingredients creates a depth of flavor that bottled varieties often lack. You’ll be amazed at how bright and lively your dishes become.
Cost-Effective: Why spend money on expensive jars when you can whip up a delicious batch at home for a fraction of the cost? The ingredients are simple, and you likely have many of them on hand!
Customization Galore: This recipe allows you to get creative! Showcase your personal taste by adjusting the level of sweetness, spice, or even adding in different aromatics. Do you love a bit of zing? Toss in more garlic or shallots!
Quick to Make: Even if you’re kitchen-challenged, this easy recipe won’t take up your entire day. In about an hour, you’ll have a flavorful paste ready to transform all your meals.
Multi-Purpose Wonder: Once you’ve mastered the art of making Nam Prik Pao, you’ll enjoy its versatility. Use it in everything from traditional dishes to creative fusion recipes, and wow your friends and family!
By the end of this recipe, you’ll see why making your own Thai Chili Paste is a game changer—a home cook’s secret weapon to elevate any meal!
Ingredients
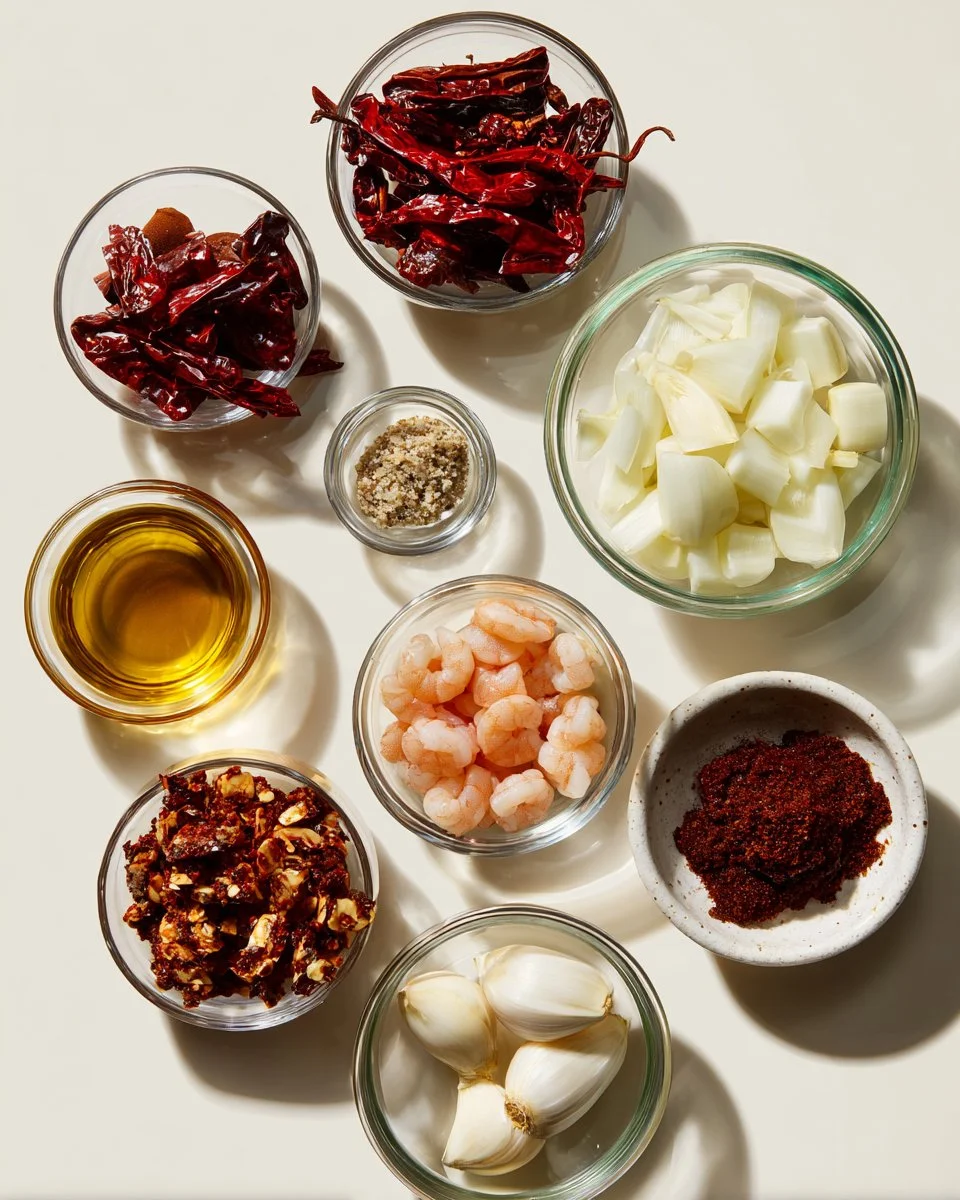
1.7 oz (50 g) mild dried chilies (guajillo or puya): These chilies are perfect for providing heat without overwhelming the palate. If you like it spicy, you can substitute for hotter varieties.
3.5 oz (100 g) garlic (about 2 heads, cloves separated and peeled): Fresh garlic brings out a sweet, aromatic flavor when charred.
7 oz (200 g) shallots (peeled and cut into 1-inch chunks): They add a subtle sweetness and complexity; only buy firm, non-sprouted shallots.
1/4 cup (30 g) dried shrimp (medium size): This optional but traditionally used ingredient adds an umami depth. Replace with a vegetarian option if preferred.
1/4 cup (60 ml) tamarind paste (store-bought or homemade): A key ingredient that offers depth and sweetness; make sure to use high-quality tamarind for an authentic taste.
3 Tbsp + 1 tsp (50 ml) fish sauce: Enhances flavor and brings saltiness.
1/3 cup + 1 Tbsp (80 g) palm sugar (finely chopped, packed): Adds a rich sweetness. If you can’t find palm sugar, brown sugar can work as a substitute.
1 tsp (5 ml) fermented shrimp paste (optional): For those looking to deepen the flavor even more.
3/4 cup (180 ml) neutral oil: Essential for achieving the right consistency. You can opt for lighter oils like canola for a more neutral taste.
Tips for Ingredient Quality and Preparation
Chili Selection: I prefer using guajillo for its mild, fruity flavor, but puya also packs a punch! You can adjust based on your own heat preference.
Shrimp Paste: If you’re hesitant about using shrimp paste, taste as you go—you can always add more.
Fresh Ingredients: Always use fresh herbs and spices for optimal flavor. This makes the world of difference in your final product.
Step-by-Step Instructions
Preparing the Ingredients
- If the dried chilies feel dusty, dunk them in cold water for a few seconds, then dry them on paper towels. Cut them into large chunks with scissors, removing seeds and pith if you prefer a milder paste.
Cooking Methods
Stovetop Method:
- Toast the dried chilies in a dry skillet over medium heat until slightly charred and fragrant, about 2-3 minutes. Keep an eye on them to prevent burning.
- In the same skillet, add garlic and shallots. Stir over high heat until they’re both lightly charred. Remove from heat.
Broiler Method:
- Preheat your broiler, place chilies, whole garlic, and shallots on a foil-lined baking sheet, and broil until charred, about 5-7 minutes—make sure to watch them closely!
Grinding to Perfection
- Grind the toasted dried chilies into a powder using a spice grinder or mortar and pestle. Then, add the dried shrimp and grind this mixture until finely ground.
Blending the Paste
- Add the ground chilies, charred garlic, shallots, tamarind paste, fish sauce, palm sugar, and optional shrimp paste to a food processor. Gradually stream in oil while blending until you reach a mostly fine paste.
Cooking & Storing the Paste
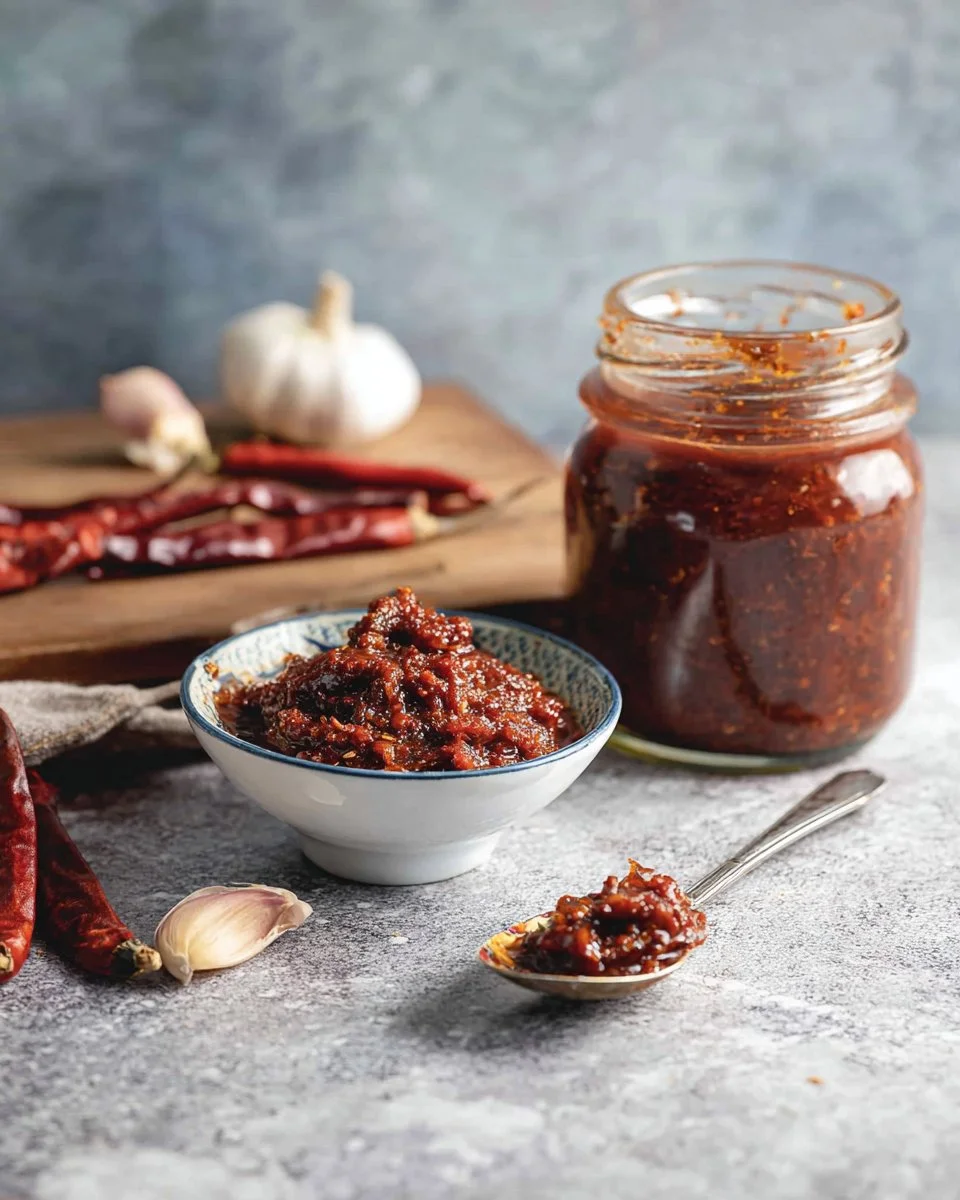
Transfer the paste to a skillet and cook it over low heat for about 20 minutes, stirring constantly. This thickens the paste and enhances its flavors—look for it to deepen in color and turn glossy.
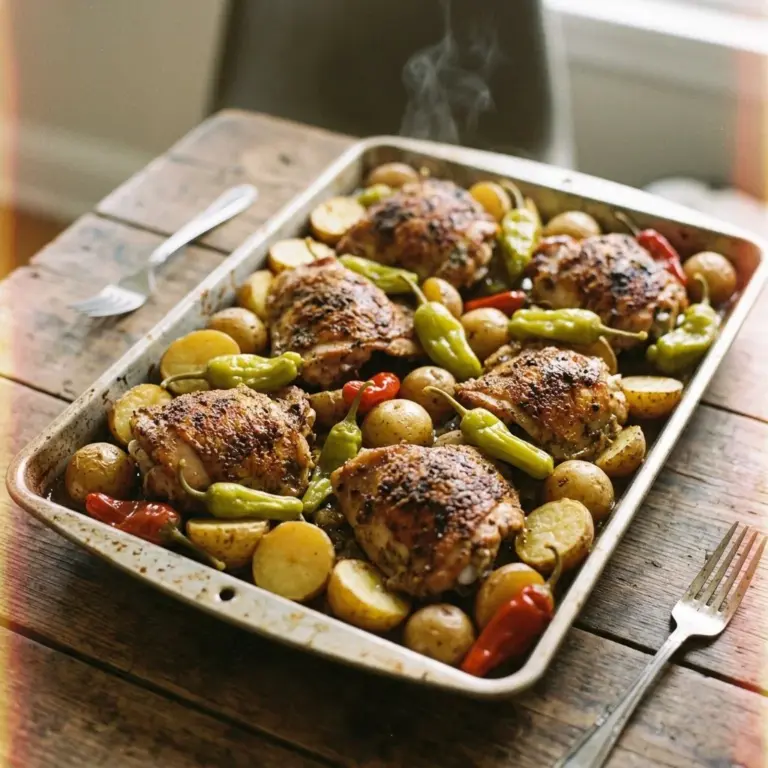
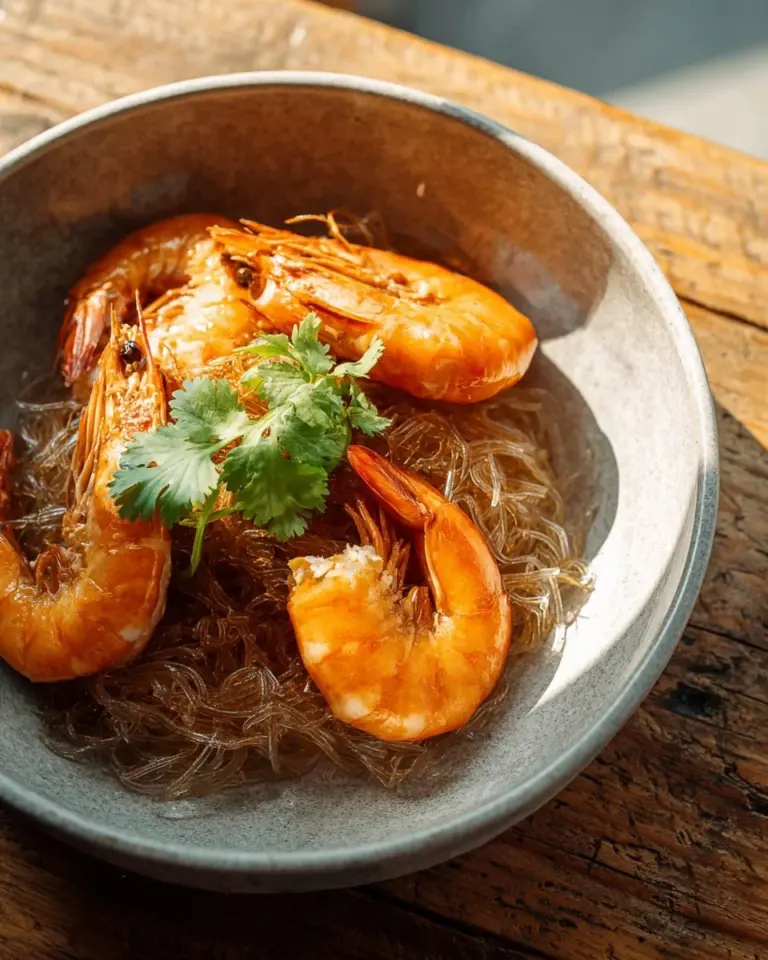
Allow it to cool, then store in a glass jar. It will keep in the refrigerator for a few months, or you can freeze it for longer storage. Use it in dishes like Cashew Chicken or Tom Yum Goong!
Chef’s Tips:
- If the paste is too thick, add a splash of water or more oil to loosen it up while cooking.
- Always taste and adjust flavors as you go—this paste should burst with flavor in every spoonful.
Expert Tips & Tricks
Ingredient Substitutions: Don’t have dried shrimp? You can omit it entirely or substitute it with a pinch of salt for a more straightforward flavor profile.
Make-Ahead Magic: This paste keeps beautifully! You can double the recipe and freeze half for quick meals on busy nights.
Storing: Store in a clean, airtight glass jar; press plastic wrap directly against the surface of the paste before sealing to prevent oxidation.
Avoiding Common Mistakes: Don’t rush the charring process, as the smoke flavor develops slowly. If your paste ends up too gritty, blend it a bit longer!
Looking for Depth?: Try adding a few drops of soy sauce or a teaspoon of lime juice for extra complexity.
Serving Suggestions
Thai Chili Paste is incredibly versatile! Serve it as a dipping sauce alongside grilled meats or vegetables, blend it into stir-fries, or add it to soups like Tom Yum. For a pretty presentation, drizzle some paste on the side of the plate when serving, and garnish with fresh herbs! It’s perfect for gatherings, family dinners, or even a comforting weekday meal.
Variations & Substitutions
There are numerous ways to adapt this basic recipe to suit your family’s taste. Here are a few ideas:
- Sweeten the Deal: Add a bit of honey or maple syrup if you prefer a smoother, sweeter taste.
- Seasonal Spice: In fall, experiment with spices like star anise or cinnamon for a seasonal twist.
- Dietary-Friendly Versions: For vegan or vegetarian-friendly recipes, simply eliminate dried shrimp and shrimp paste while adjusting the salt content—your taste will remain bold and delicious.
Nutrition & Storage Info
- Prep Time: 15 minutes
- Cook Time: 30 minutes
- Total Time: 45 minutes
- Yield: About 1.5 cups (8 servings)
- Estimated Calories per Serving: 60-80 calories, depending on how much you use.
- Storage Instructions: Store at room temperature if using within a week; in the fridge for up to 3 months; and freeze for up to 6 months.
FAQ Section
Can I make this recipe spicy?
Yes! Feel free to adjust the type of dried chilies or add more chili powder to increase heat.What else can I use Nam Prik Pao with?
It’s versatile! Use it as a dip, marinade, or stir-in for soups or curries.Can I make it without shrimp?
Absolutely! Omit the dried shrimp and use a bit of extra salt for flavor.How do I thicken my paste?
If your paste is too watery, simmer it gently until it reduces and thickens.What if I can’t find palm sugar?
Brown sugar can be a good substitute, but coconut sugar would offer a similar flavor profile.Is this paste gluten-free?
Yes, as long as you ensure that the fish sauce is gluten-free.How long does it last?
It should last in the fridge for several months. Freezing can preserve it for longer.Can I double the batch?
Definitely! This recipe can be easily scaled up.Is it necessary to char the vegetables?
Charring enhances the depth of flavor, but you can skip it for a lighter taste.Can I gift homemade Nam Prik Pao?
Yes! Spoon it into a pretty jar and attach a recipe for using it to share the love!
Conclusion
There you have it—your new secret weapon in the kitchen: Homemade Thai Chili Paste (Nam Prik Pao). It’s a culinary adventure waiting to happen, bringing to life dishes that are bursting with flavor and enriched with personal touches. By mastering this recipe, you’re not just making a condiment; you’re creating memories and starting a journey through the vibrant world of Thai cuisine.
I’d love to hear how your batch turns out! Please share your thoughts and experiences in the comments below. If you enjoyed this recipe, check out some of my other Thai-inspired dishes on the blog! Happy cooking!

Thai Chili Paste (Nam Prik Pao)
Ingredients
Method
- If the dried chilies feel dusty, dunk them in cold water for a few seconds, then dry them on paper towels. Cut them into large chunks with scissors, removing seeds and pith for a milder paste.
- Stovetop Method: Toast the dried chilies in a dry skillet over medium heat until charred and fragrant, about 2-3 minutes. Add garlic and shallots, stirring until lightly charred.
- Broiler Method: Preheat the broiler, place chilies, whole garlic, and shallots on a foil-lined baking sheet, and broil until charred, about 5-7 minutes.
- Grind the toasted dried chilies into a powder using a spice grinder or mortar and pestle, then add the dried shrimp and grind until finely ground.
- In a food processor, add the ground chilies, charred garlic, shallots, tamarind paste, fish sauce, palm sugar, and optional shrimp paste. Gradually stream in oil while blending until you reach a mostly fine paste.
- Transfer the paste to a skillet and cook over low heat for about 20 minutes, stirring constantly until it thickens and enhances flavors.
- Allow it to cool, then store in a glass jar. It will keep in the refrigerator for a few months or can be frozen for longer storage.