Fiery and Flavorful: Make Your Own Thai Chili Vinegar!
I can still remember the first time I tasted homemade Thai chili vinegar. I was in my Aunt Nara’s kitchen, the air thick with the aroma of fresh herbs and spices. She poured a vibrant, fiery liquid over our summer salad, and it was love at first bite! It was the perfect balance of heat and tang, elevating simple dishes into something truly magical. That evening turned into a family tradition: chili vinegar became our secret ingredient, a flavorful touch that we cherished in our family meals.
What makes my version of Thai chili vinegar special is the control I have over the heat level and flavor. Unlike store-bought versions, which can be overly processed, my homemade concoction is fresh and bursting with personality. More than just a condiment, it’s a keeper of taste and memories—a simple recipe that takes just minutes to prepare but lasts forever in the fridge.
In this blog post, I promise you’ll learn how to make your own Thai chili vinegar, how to customize it to your liking, and so much more. Get ready to embrace a zingy twist in your culinary adventures!
What Are Thai Chili Vinegar?
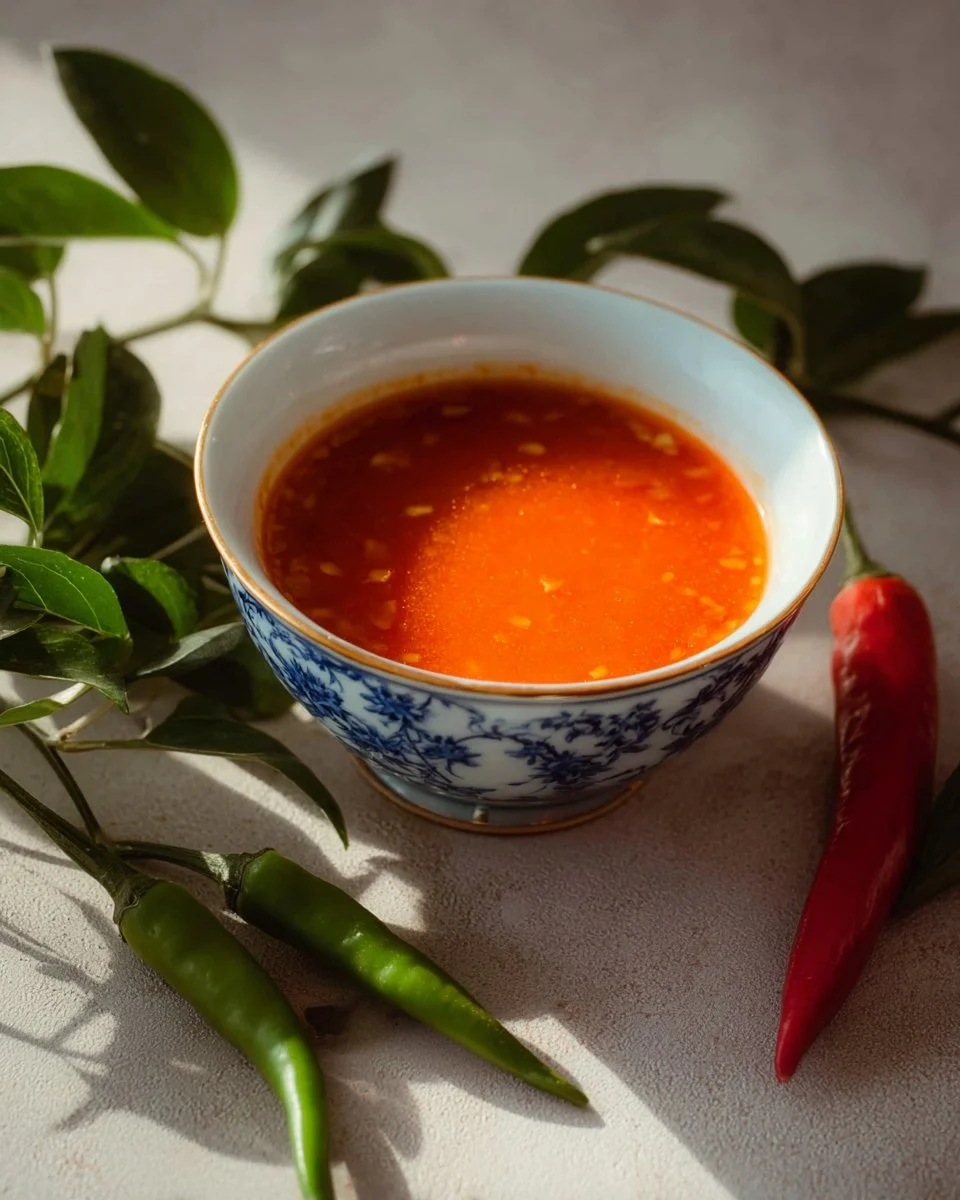
Thai chili vinegar is a staple condiment in Thai cuisine, combining the heat of fresh chilies with the sharp acidity of vinegar. Originating from Southeast Asia, this fiery blend is often drizzled over salads, grilled meats, and soups, providing that extra spark of flavor that can elevate any dish.
The taste is a delightful dance on the palate—it’s spicy, tart, and slightly sweet, with a texture that can range from smooth to chunky, depending on how you prepare it. What sets Thai chili vinegar apart is its versatility; you can adjust the chili variety and the amount you use, creating something uniquely your own.
Whether you’re hosting a dinner party or simply spicing up a weeknight meal, this vibrant sauce is perfect for those who enjoy a kick in their cooking. There’s no wrong time to make it—just a spoonful can brighten your day!
Why You’ll Love This Recipe
Simple and Quick: Unlike complex sauces that require hours of simmering, this Thai chili vinegar comes together in just 10 minutes. That’s right—just heat a skillet, char your ingredients, and blend away!
Customizable: Don’t like it too hot? Feel free to reduce the chilies or even swap them for milder peppers. Want a burst of garlic? Toss in an extra clove. The world of flavor is your oyster with this recipe!
Cost-effective: Making your own chili vinegar is not only fun but also saves money in the long run. Those small bottles from specialty shops can add up quickly, while this recipe costs just a few dollars to whip up.
Healthier Option: You control the quality of your ingredients, opting for fresh, organic chilies and vinegar without any preservatives or artificial flavors. You’ll know exactly what’s going into your condiment.
Multi-Purpose: This isn’t just a condiment; it can be used in marinades, dressings, and even as a zesty dip for appetizers. Think of it as your new kitchen companion that adds a spark to nearly any dish!
Ingredients
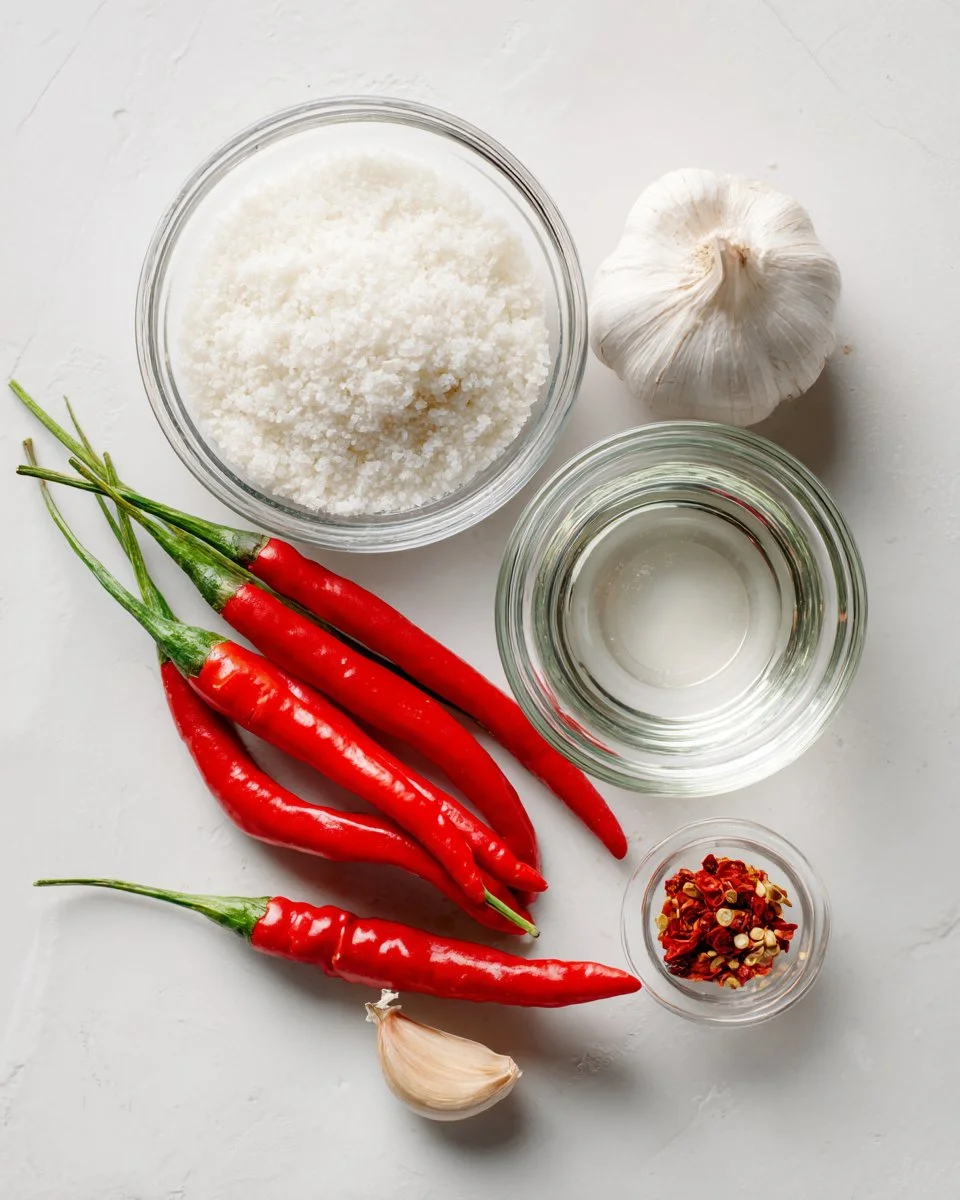
To create your own Thai chili vinegar, you’ll need the following ingredients:
- 2-3 Thai chilies: Adjust according to your heat preference. Look for fresh, vibrant chilies for the best flavor.
- 1 clove garlic (optional): Adds depth; you can skip it or use more if you love garlic!
- 1/4 cup white vinegar: Choose a good quality vinegar—the sharper and more acidic, the better.
Notes on Ingredient Quality/Substitutions:
- Chilies: Thai bird’s eye chilies are traditional, but feel free to experiment with other varieties like Serrano or Fresno for a different taste.
- Vinegar: Apple cider vinegar can be used for a milder flavor, while rice vinegar adds an authentic Asian twist.
Prep Notes: Ensure your chilies and garlic are at room temperature before cooking.
Brand Recommendations: I particularly love using organic chilies from local markets and a trusty brand of white vinegar like Heinz for this recipe.
Step-by-Step Instructions
Step 1: Char the Chilies and Garlic (Optional)
Heat a dry skillet over high heat. Add the Thai chilies and garlic (if using) and let them cook until they develop charred spots, about 2-3 minutes per side. Watch for that smoky aroma!
Chef’s Tip: Don’t be afraid to use a little kitchen towel to press down on the chilies for better charring.
Step 2: Create the Paste
Using a mortar and pestle, pound the charred chilies and garlic into a spicy paste. If you don’t have one, feel free to use a blender—it’ll work just fine!
Step 3: Add the Vinegar
Once you’ve achieved that paste consistency, add the white vinegar into the mix and stir to combine.
Common Mistake to Avoid: Don’t hurry this step! Properly pulverized chilies will yield a better flavor infusion into the vinegar.
Step 4: Store Your Creation
Transfer your Thai chili vinegar into a sealed container and store it in the refrigerator. It should last indefinitely—though I doubt it will as you’ll be using it up quickly!
Expert Tips & Tricks
Use Fresh Ingredients: The fresher the chilies, the better your vinegar will taste. Always scout for vibrant, unblemished chilies.
Customize Your Heat Level: Start with the least amount of chilies if you’re sensitive to heat, and you can always add more later!
Make-Ahead Instructions: If you plan to serve this at a gathering, prepare it a day or two in advance. This allows the flavors to meld beautifully.
Storage Recommendations: Store in a glass container for a longer shelf life. Plastic can absorb the flavors, altering the taste over time.
Common Problems: If your chili vinegar turns out too hot, adding a touch of sugar or honey can help balance the heat. Experiment until you find the balance you love!
Serving Suggestions
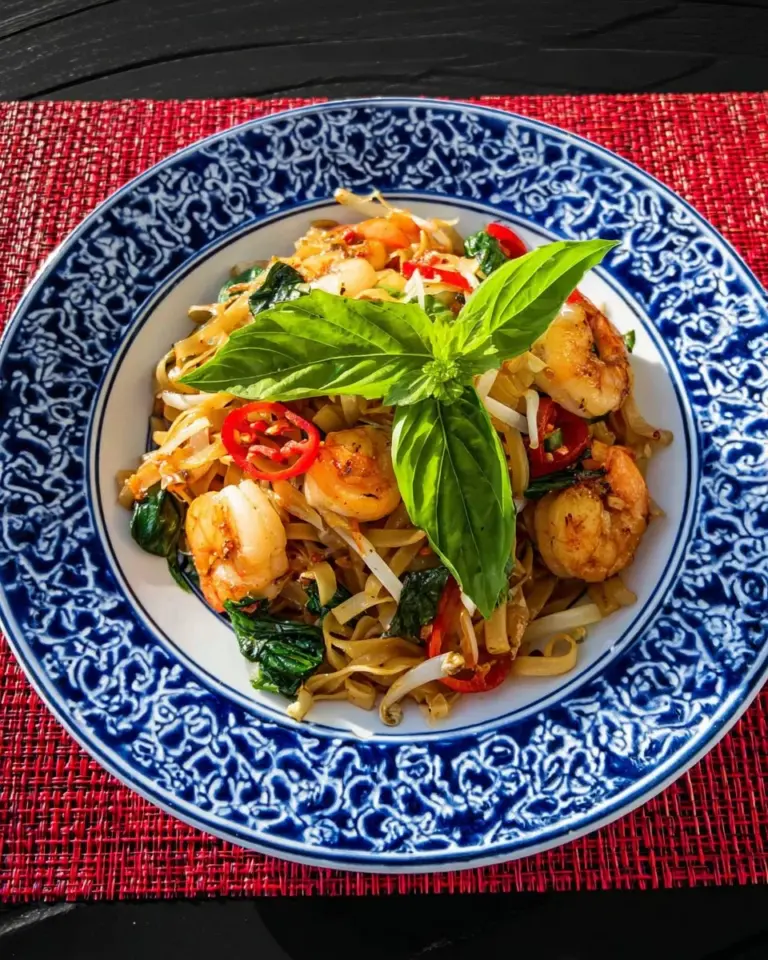
This Thai chili vinegar pairs beautifully with a variety of dishes. Drizzle it over fresh salads for that kick, use it as a marinade for grilled chicken, or mix a dash into your next bowl of noodle soup.
For presentation, consider serving in an elegant glass bottle with a label for a lovely dining table centerpiece. This is the perfect condiment for casual get-togethers or summer barbecues!
Variations & Substitutions
Feeling adventurous? Here are a few variations to try:
- Fruit-Infused: Add slices of mango or pineapple for a sweet twist.
- Herb-Infused: Toss in some cilantro or mint for refreshing herbal notes.
- Milder Options: Swap out the Thai chilies for bell peppers for a fruity, low-heat version.
You can also adapt this recipe to be vegan or gluten-free by ensuring that all ingredients comply with dietary restrictions.
Nutrition & Storage Info
- Prep Time: 10 minutes
- Cook Time: 5 minutes
- Total Time: 15 minutes
- Yield: Approximately 1/2 cup
- Estimated Calories: About 10 calories per tablespoon.
Storage Instructions: Keep in the fridge in a sealed container. This can be stored at room temperature for a short period; however, refrigeration is recommended. It should last indefinitely, but it’s best enjoyed fresh!
FAQ Section
Can I use dried chilies instead?
Dried chilies can work, but the flavor will be less vibrant. If you choose to use them, consider rehydrating them first.What if I don’t have a mortar and pestle?
A blender or food processor works great! Just pulse the chilies and garlic until they form a paste.Is there a substitute for white vinegar?
Yes! You can use rice vinegar or apple cider vinegar based on your preference.How spicy will this be?
That depends on the type and amount of chilies you use! Start with fewer and adjust as you blend.Can I add other spices?
Absolutely! A pinch of salt or some cumin could provide an extra layer of flavor.What should I do if it’s too hot?
Add a bit of sugar or honey to balance the spiciness.How do I know when to use this?
Use it whenever you want to kick up the flavor: in salads, as a dipping sauce, or drizzling over grilled dishes.What can I serve it with?
It’s perfect with Thai dishes, grilled meats, and even seafood. Try it on tacos!Can this recipe be doubled?
Yes! Just double all ingredients and follow the same instructions for a larger batch.Will the flavor change over time?
Yes! It will develop deeper flavors over time, so you may find it even tastier after a week in the fridge.

Conclusion
Creating your own Thai chili vinegar is not just about adding spice to your meals—it’s about sharing an experience that reminds us of comfort and joy in food. I encourage you to give this recipe a try and incorporate it into your daily cooking.
Let me know how it turns out and share your experiences—I love hearing from fellow food lovers! And while you’re here, don’t miss out on my other delicious recipes on the blog that can complement your newfound Thai chili vinegar. Happy cooking!

Thai Chili Vinegar
Ingredients
Method
- Heat a dry skillet over high heat. Add the Thai chilies and garlic (if using) and let them cook until they develop charred spots, about 2-3 minutes per side.
- Using a mortar and pestle, pound the charred chilies and garlic into a spicy paste. If you don't have one, feel free to use a blender.
- Once you’ve achieved a paste consistency, add the white vinegar into the mix and stir to combine.
- Transfer your Thai chili vinegar into a sealed container and store it in the refrigerator.